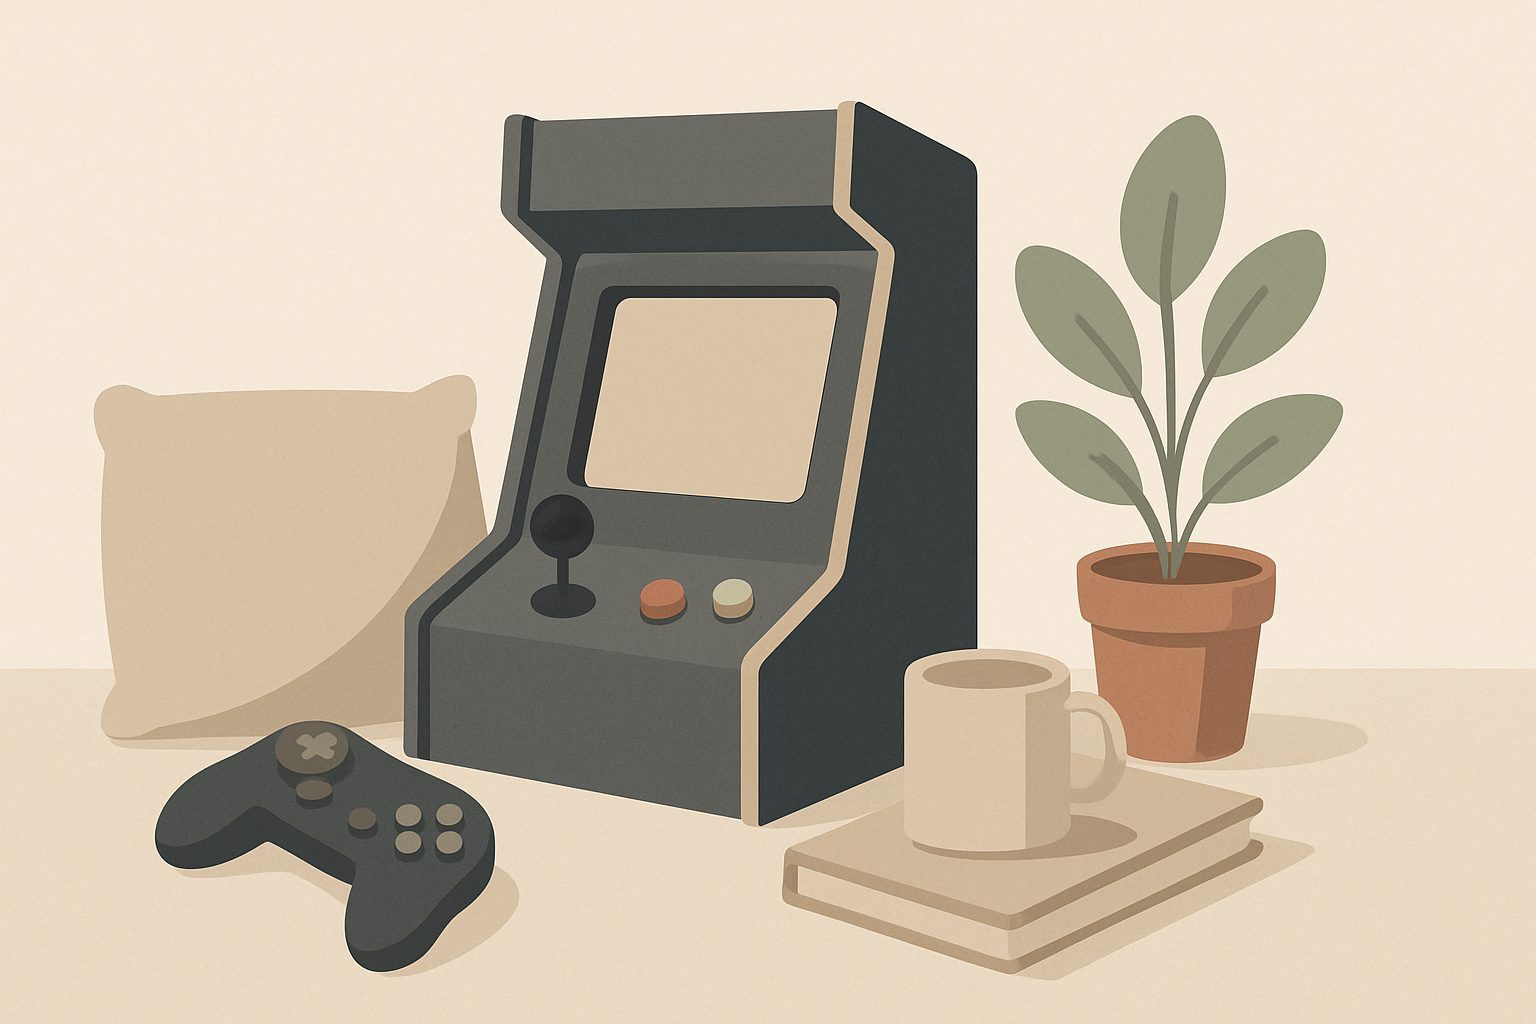
Home Arcade Machine Maintenance & Repair UK: Keep Your Cabinet in Top Shape
Owning a home arcade machine is brilliant—until something goes wrong. A flickering screen, unresponsive buttons, or sticky joysticks can ruin the experience quickly. The good news is that many common maintenance and repair tasks are manageable without specialist knowledge. Understanding what to maintain and when to act will keep your cabinet running reliably and extend its lifespan considerably.
Why Regular Maintenance Matters
Arcade cabinets are durable machines, but they're not immune to wear. Dust accumulation clogs cooling vents, moisture creeps into electrical components, and mechanical parts degrade from regular use. A machine left neglected for a year or two can develop multiple faults that, while individually minor, compound into expensive problems.
Preventative maintenance is far cheaper than reactive repairs. Spending an hour every few months on cleaning and inspection beats facing a dead power supply or corroded circuit board down the line. Most owners find that small, regular efforts keep their machines in solid working order indefinitely.
Cleaning: The Foundation of Good Maintenance
Start with cleanliness. Dust is the enemy of arcade machines because it clogs heatsinks, attracts moisture, and gradually degrades solder joints on circuit boards.
Cabinet exterior and bezel: Use a microfibre cloth lightly dampened with water. For stubborn marks on artwork or glass, a weak solution of 10:1 water to white vinegar works well without damaging the surface. Avoid excessive moisture—it'll seep into the cabinet. Dry immediately with a clean cloth.
Screen and monitor: The monitor glass collects fingerprints and dust. Clean gently with a soft, dry cloth first, then a barely dampened microfibre cloth if needed. Never spray liquid directly onto the screen. For CRT monitors, ensure the machine is unplugged before touching the screen—CRT tubes retain charge even when powered off.
Interior dust removal: Every few months, open the cabinet and carefully vacuum around circuit boards and power supplies using a low-suction vacuum with a brush attachment. Avoid direct contact with components. Alternatively, use compressed air (short bursts at a distance), though this moves dust around rather than removing it. Never use compressed air near a running fan—the resistance can damage the motor.
Control panel: The joystick and buttons collect spillages, dust, and residue. Wipe the top surface regularly with a slightly damp cloth. For underneath the panel, if your machine has a removable overlay, lift it occasionally and carefully brush away accumulated debris.
Control Panel: Joysticks and Buttons
The joystick and buttons endure constant physical stress, so issues here are common.
Sticky or unresponsive buttons: The problem is usually dried liquid or dust inside the switch. With the machine powered off, you can carefully remove the button from above (usually a quarter-turn and pull, or a few fasteners). Soak the button cap and spring in warm water, then dry thoroughly before reinstalling. If the underlying switch itself is faulty, replacement switches are inexpensive—Japanese-style arcade switches are standardised and readily available in the UK from specialist suppliers and online retailers.
Joystick play or drift: Older digital joysticks wear out; the gates loosen and the stick drifts or registers incorrect directions. If the issue is wear, replacement is usually the answer. Modern replacement joysticks offering tighter feel and improved responsiveness are affordable and straightforward to fit. Sanwa and similar Japanese joysticks are the standard upgrade; sourcing them online is straightforward. Installation involves removing a few fasteners and swapping the old unit.
Worn or stiff joystick movement: If movement is notchy or stiff rather than smooth, disassembly and cleaning can help. Remove the joystick carefully, inspect the pivot area for dust or corrosion, and clean with a dry brush if necessary. Relubricate the pivot joint with a tiny amount of silicone-based lubricant—sparingly—then work it in with gentle movements. Test before reinstalling.
Screen and Display Issues
Monitor problems are more concerning because replacement can be expensive, but many faults are manageable.
Flickering or rolling image: Often caused by electrical interference. Check that power and signal cables aren't bundled tightly with other electronics. Ensure cable shielding is intact. If the issue appears after the machine warms up, internal component failure may be starting—noting the pattern helps a repair technician diagnose the cause.
Screen calibration and geometry: CRT screens can develop image distortion or misalignment. Most arcade cabinets have adjustment potentiometers inside the monitor housing for geometry and centring. These require specialist knowledge to access safely; incorrect adjustment can damage the tube. If your screen's geometry drifts significantly, it's worth getting a qualified technician's assessment—sometimes it's simply a control needing a small tweak.
Dead pixels or faint display on LCD screens: If your cabinet uses a modern LCD, stuck or dead pixels are generally unfixable without replacement. Faint brightness sometimes points to a failing backlight inverter, which is a genuine repair job for someone experienced with monitor electronics.
Electrical and Power Issues
Power-related faults are serious and require care.
Machine won't start or powers down unexpectedly: Check the power cable connections first, then the internal power supply connections. Corrosion on connectors is common; gently clean corroded contacts with a pencil eraser, dry thoroughly, and reconnect firmly. If the machine powers up intermittently, the issue is often a failing power supply or loose internal connection. This warrants professional assessment—power supplies are potentially dangerous to work on without training.
Fuse blows repeatedly: Don't just replace it repeatedly. A blown fuse indicates a genuine fault downstream. Common causes are failing components drawing excessive current or a short circuit. Professional diagnosis is needed here.
Preventative Practices
Keep moisture out. Don't place your cabinet in damp cellars or unheated sheds. UK humidity can be problematic; consider a dehumidifier in very damp environments.
Ventilation matters. Ensure the cabinet isn't pushed tight against walls. Power supplies and monitors generate heat; they need airflow.
Document your setup. Take photos of cable layouts and settings before you make adjustments. This helps if you need to troubleshoot later.
Source spare parts thoughtfully. Joysticks, buttons, and common replacement components are easily sourced within the UK. Keeping a spare set of buttons and a replacement joystick on hand means minor issues don't sideline your machine.
Maintaining an arcade cabinet isn't complicated—it's mostly common sense and regular attention. The machines are well-engineered and genuinely durable if looked after properly. Small efforts now prevent frustration and expense later.
More options
- Home Arcade Machines (General) — Amazon UK (Amazon UK)
- Raspberry Pi Arcade Cabinet Kits — Amazon UK (Amazon UK)
- Arcade Joysticks & Button Sets — Amazon UK (Amazon UK)
- Cocktail Arcade Tables — Amazon UK (Amazon UK)
- Arcade Machine Accessories (Stools, Covers, LED) — Amazon UK (Amazon UK)